Home / News

Step-by-step guide to installing rock wool insulation in walls

Mar. 03, 2026

Rock wool insulation, a highly effective thermal and acoustic insulator, is made from natural basalt rock and recycled materials. It provides excellent fire resistance, soundproofing, and thermal performance, making it an ideal choice for insulating walls. This comprehensive guide will walk you through the step-by-step process of installing rock wool insulation in walls, ensuring your home is energy-efficient and comfortable.

1. Gather Necessary Tools and Materials

  • Tools:
    • Measuring tape
    • Utility knife or insulation saw
    • Stapler or adhesive for facing
    • Safety goggles and gloves
    • Dust mask or respirator
  • Materials:
    • Rock wool insulation batts or boards
    • Vapor barrier (if necessary)
    • Framing materials (if building walls)
    • Sealant or caulk for sealing gaps

2. Prepare the Workspace

  • Clear the area of any obstructions or debris.
  • Ensure the walls are dry and clean, removing any old insulation or materials as required.
  • Check for any electrical wires or plumbing that may be fixed in the wall structure.

3. Measure and Cut the Rock Wool Insulation

  • Using the measuring tape, measure the height and width of the wall cavities.
  • Cut the rock wool batts to size using a utility knife; ensure they fit snugly between the studs without compression.
  • Leave some spacing for any electrical wiring or plumbing to avoid squeezing the insulation.

4. Install the Rock Wool Insulation

  • Insert the cut batts into the wall cavities, pushing them gently against the sides of the studs.
  • Ensure the insulation remains flush and does not sag; use your hands to adjust as needed.
  • If necessary, use a staple gun or adhesive to attach the facing of the rock wool to the studs.

5. Seal Gaps and Air Leaks

  • Check for gaps between the insulation and the wall edges.
  • Apply sealant or caulk to any cracks or gaps to ensure an airtight seal.
  • Insulating around electrical outlets and switches is vital for preventing energy loss.

6. Install a Vapor Barrier (if needed)

  • If your area has high humidity, consider installing a vapor barrier over the rock wool insulation.
  • Choose a vapor barrier that is appropriate for your climate; consult local building codes if unsure.
  • Secure the vapor barrier with staples and make sure it overlaps at the seams.

7. Finish the Wall

  • Cover the insulation with drywall or another wall covering of your choice.
  • Apply joint tape and compound at the seams, then sand smooth for a clean finish.
  • Once dry, paint or finish as desired to complete the wall project.

8. Final Tips for Effective Insulation

  • Choose rock wool with the right R-value for your specific climate needs, ideally around R-15 to R-21 for walls (Source: U.S. Department of Energy).
  • Always wear protective equipment while handling insulation to prevent irritation or injury.
  • Consider hiring a professional if you're uncomfortable with DIY insulation installation.

Conclusion

Installing rock wool insulation in your walls is a straightforward process that can lead to significant energy savings and improved comfort within your home. By following this guide and taking the necessary precautions, you can achieve a well-insulated living space. For additional information, consult local building codes or a professional insulation contractor to ensure compliance and optimal results.
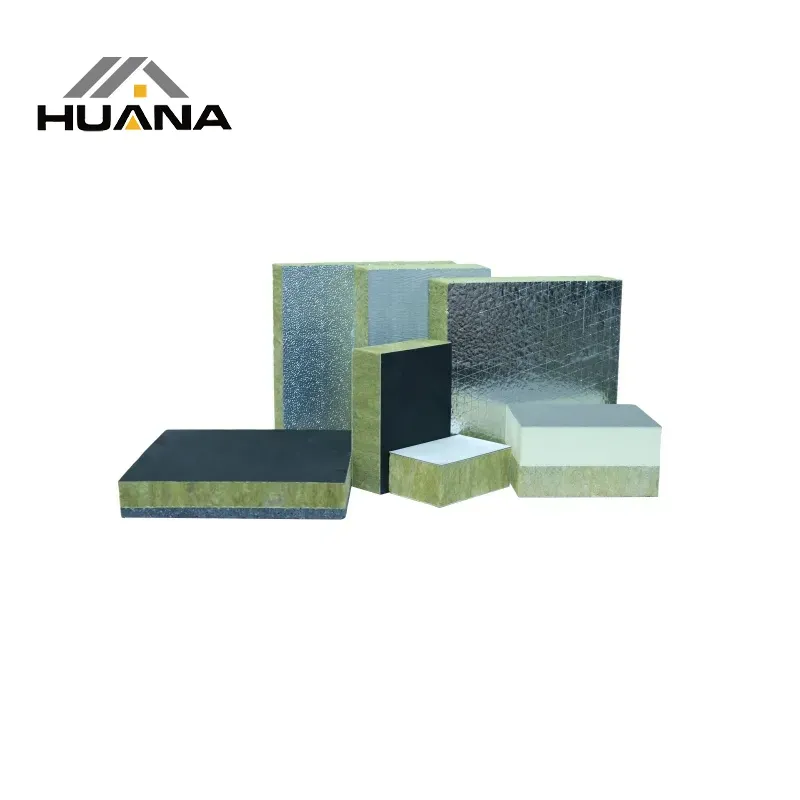
Step-by-step guide to installing rock wool insulation in walls

Related Products

Contact Us

  • E-mail: [email protected]
  • Mobile: +86 130 0135 2825
  • WeChat: +86 130 0135 2825
  • WhatsApp: +8613001352825
  • Add.: Quancun Town, Dacheng County, Langfang City, Hebei Province, China.
  • Follow Us

    Copyright © Hebei Huana Advanced Materials Manufacturing Co., Ltd. All Rights Reserved. Sitemap Sitemap | Technical Support: REANOD

    Request a Quote

    ORDER NOW!
    • wechat

      Ethan Li: +8613001352825

    Chat with Us

    Hi there! Thanks for visiting Huana Advanced Materials. To help you quickly, are you looking for information on a specific product? Feel free to share the name or model number, and I'll get the details for you right away.